





The real reason beginners get hurt (and it's not what you think)
Most people assume oyster shucking injuries happen because the shells are sharp or because shucking requires brute strength. Neither is true. The real culprit is almost always the wrong tool used the wrong way.
Industry guidance is clear on this: "While professional shuckers make prying open oysters look effortless, going at it without the right tools and technique runs the risk of serious injury." The tools matter enormously here. Kitchen knives, butter knives, steak knives, even screwdrivers — we've heard every improvised substitute imaginable, and every single one dramatically increases your injury risk. Why? Because these tools are designed for slicing or prying, not for the lateral twisting motion that shucking actually requires. When that motion meets the wrong blade geometry, the knife slips. And when a knife slips while you're gripping a rough shell, the consequences are predictable.
A proper oyster knife has a short, sturdy blade with a rounded tip and a wide handle built to absorb torque. It's not fancy. It's just engineered for the job. At OysterClamp, our Beginner Oyster Knife is designed exactly with this in mind: a blade short enough to control, a handle wide enough to grip securely, and a tip profile that seats into the hinge without skating off the shell.
The takeaway: before you worry about technique, get the right tool. Everything else builds from there.
What should you wear to shuck oysters safely?
Protective gloves and a folded kitchen towel are your two most important safety layers — and together, they solve two completely different problems.
Gloves: your first line of defense
A cut-resistant glove on your non-dominant hand (the one holding the oyster) is the single most practical upgrade a beginner can make. Look for gloves rated for food handling, made from Kevlar or high-density polyethylene blends. These materials resist cuts without restricting your grip. One critical fit note: loose gloves are actually dangerous because they can catch on the blade. Snug, well-fitted gloves give you protection without sacrificing control.
You don't need to wear a glove on your knife hand. In fact, we'd advise against it — you want full tactile feedback on the handle so you can feel when the blade is properly seated.
The towel technique: stabilization and protection in one move
A folded dish towel does double duty. First, it stabilizes the oyster on your work surface so it doesn't rotate when you apply pressure. Second, it creates a physical barrier between the shell and your palm.
Here's how to do it properly: place the oyster cupped-side-down on the towel, fold the towel over the top of the shell, and grip firmly with your non-dominant hand. Keep your fingers away from the hinge end — that's where your knife is going. Your grip should be around the wider body of the shell, not near the tip.
This technique also has a secondary benefit: the cupped-side-down orientation preserves the oyster's liquor (the briny liquid inside the shell), which is a big part of what makes fresh oysters taste so good on the half shell.
The takeaway: glove on your non-dominant hand, towel wrapped around the shell, fingers clear of the hinge. That's your safety setup before you even touch the knife.
How do you hold an oyster so the knife doesn't slip?
The knife slips when the blade isn't properly seated in the hinge — not because you're doing something wrong with your grip. This is the single most reassuring thing we can tell beginners, because it means the solution is positioning, not strength.
The hinge is the narrow pointed end of the oyster where the two shells meet. That's your only insertion point. According to expert shucking guidance, you should "place the tip of the knife at the edge of the hinge and wiggle it in rather than forcing it." The key word is wiggle. You're not stabbing, not prying, not levering. You're finding the small gap at the hinge and easing the blade in.
Here's the test that professional shuckers use to know they're in the right position: once the blade is seated, you should be able to lift the knife and have the oyster come with it, attached, without slipping. If it falls off, the blade isn't seated yet. Keep wiggling gently until you feel it lock in.
Once it's locked, the opening motion is a gentle wrist rotation — like turning a key — not a prying motion. This twisting technique applies pressure evenly across the hinge and separates the shells with a satisfying click rather than a sudden snap that sends the knife flying.
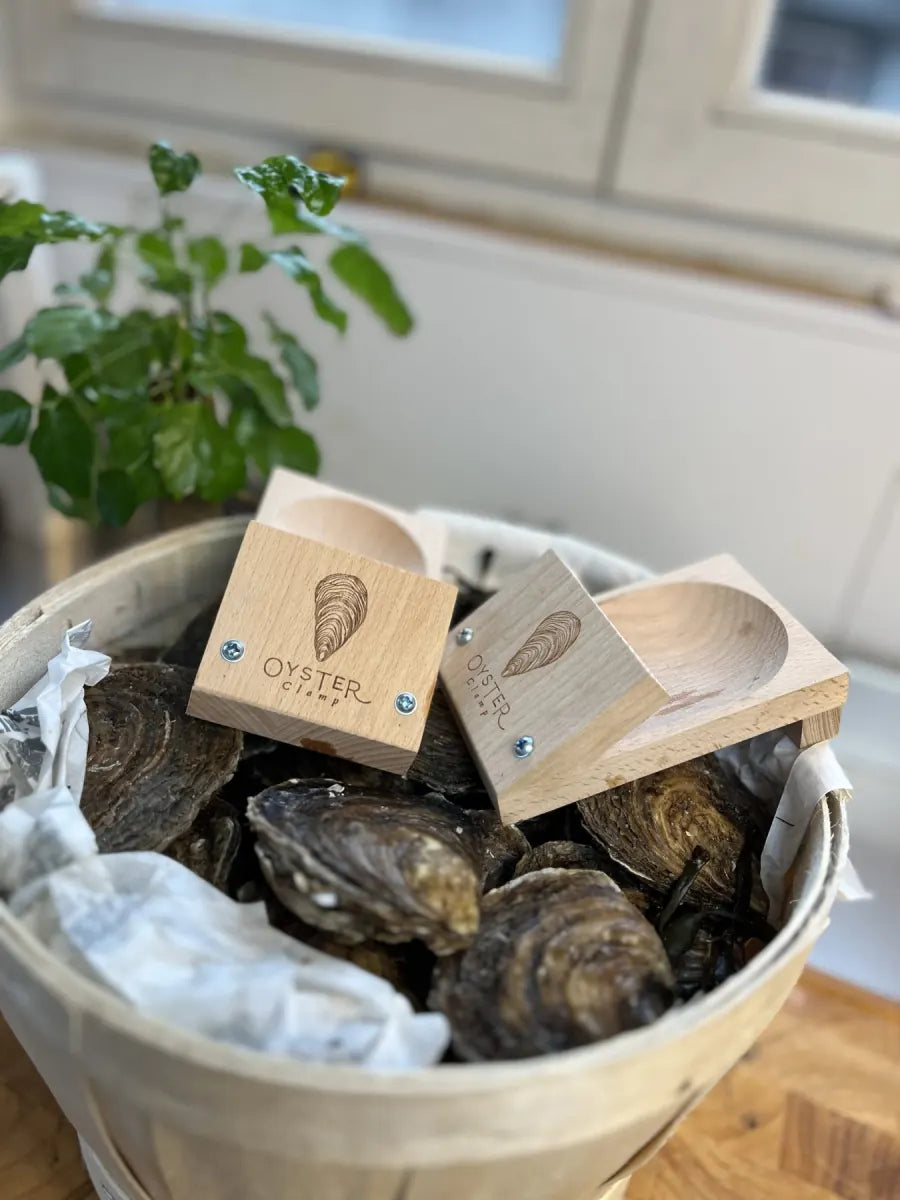
At OysterClamp, this is exactly the problem our flagship OysterClamp 2.0 was designed to solve. The clamp mechanism holds the oyster in a fixed, stable position so your non-dominant hand never needs to be near the hinge at all. Chef Henk, our Michelin Star founder, developed it specifically because he watched home cooks struggle with this exact moment — the blade-seating step — and wanted to remove the guesswork entirely.
The takeaway: seated blade, gentle rotation, no force. If it feels like you're fighting the oyster, stop and reposition.
Step-by-step: how to shuck oysters without injuring yourself
Follow this sequence every time, especially for your first 15 to 20 oysters. Consistency builds muscle memory, and muscle memory is what makes shucking feel safe.
- Set up your station. You need a stable cutting board, a folded dish towel, your oyster knife, and your glove. Have a bowl of cold water nearby to rinse the blade if needed.
- Position the oyster. Cupped side down, flat side up, hinge pointing toward your dominant hand. Wrap the towel around the shell and grip with your non-dominant hand, fingers well clear of the hinge.
- Locate the hinge. Look for the narrow pointed end where the two shells meet. This is the umbo — your only entry point.
- Insert the blade gently. Place the tip at the edge of the hinge and apply light forward pressure while wiggling slightly. You're looking for the small natural gap, not forcing through the shell.
- Seat the blade. Once it's in, test it: lift the knife. If the oyster comes with it, you're seated correctly. If not, reposition.
- Rotate, don't pry. Turn your wrist gently in a key-turning motion until you hear or feel the click of the shells separating.
- Wipe the blade. Before going further, wipe any shell fragments off the blade on your towel. Shell grit in the oyster is the one thing that ruins the experience.
- Sever the adductor muscle. Run the blade along the underside of the top shell to cut the adductor muscle — this is what keeps the oyster attached to the shell. Then slide the blade under the oyster to free it from the bottom shell too.
- Check the shell. Remove any fragments, keep the liquor in the cupped shell, and serve immediately on crushed ice or coarse salt.
The takeaway: this nine-step sequence removes every decision point that causes beginners to improvise — and improvisation is where injuries happen.
How long does it take to get comfortable shucking oysters?
Honest answer: your first ten oysters will feel awkward. Your first thirty will feel manageable. By fifty, you'll wonder what you were worried about.
Expert guidance notes that "every oyster is unique, which makes shucking a bit of an art form. After a few hundred, you'll get a much better sense of what works best for you." That's not meant to intimidate — it's meant to calibrate expectations. Shucking is a skill, and skills take repetition.
For beginners, we recommend one specific mindset shift: treat your first session as practice, not performance. Don't shuck oysters for the first time the night of your dinner party. Buy a dozen a few days earlier, practice the technique, and notice where you feel uncertain. Is it finding the hinge? Seating the blade? Severing the adductor muscle? Each of those is a discrete skill that improves with repetition.
Also worth knowing: not all oysters are equally beginner-friendly. Oysters with thicker, more defined hinges (many Pacific varieties) are generally easier to enter than flat, irregular shells. If you're just starting out, ask your fishmonger for a variety that's known for a clear hinge. It makes a real difference in those first sessions.
If you want to shortcut the learning curve, our Find Your Shucking Profile quiz matches you with the right OysterClamp setup based on your experience level, how often you plan to shuck, and what you're serving. It takes two minutes and removes the guesswork from your first purchase.
The takeaway: give yourself permission to be a beginner. The technique clicks faster than you think, especially with the right tool in your hand.
Conclusion: confidence comes from preparation, not courage
Oyster shucking looks intimidating from the outside. Up close, with the right glove, the right towel position, and a knife blade properly seated in the hinge, it's a technique any home cook can learn. The fear of cutting yourself is completely valid — but it's also completely solvable.
Every section of this guide comes back to the same principle: safety in shucking is a product of preparation, not talent. The right tool eliminates improvisation. The glove and towel eliminate slip risk. The seated-blade technique eliminates the need for force. Remove those variables, and what's left is a genuinely enjoyable skill that transforms how you experience fresh oysters at home.
We built OysterClamp around this exact philosophy. Chef Henk didn't design the OysterClamp 2.0 for professional shuckers who've already figured it out. He designed it for the home cook who wants to serve beautiful half-shell oysters without spending the whole evening anxious about the knife. That's who we're here for.
Ready to shuck your first oyster without the fear? Explore the full OysterClamp range and find the setup that fits your kitchen.
Frequently asked questions
Do I really need a special oyster knife, or can I use a regular kitchen knife?
You need a proper oyster knife. Kitchen knives are designed for slicing and will flex or slip under the lateral twisting motion shucking requires. A purpose-built oyster knife has a short, rigid blade and a wide handle specifically engineered to absorb that torque safely. Using a substitute dramatically increases your risk of the blade slipping onto your hand.
What's the safest way to hold an oyster while shucking?
Place the oyster cupped-side-down on a folded dish towel, wrap the towel around the shell, and grip with your non-dominant hand — keeping your fingers well away from the hinge end. Wearing a cut-resistant glove on that hand adds a second layer of protection. The towel prevents the oyster from rotating; the glove protects against any unexpected slip.
How do I know when the oyster knife is properly seated in the hinge?
Once the blade tip is inserted into the hinge, lift the knife gently. If the oyster lifts with it and stays attached without slipping, the blade is properly seated. If it falls away, you need to reposition and wiggle the blade further into the hinge gap. Never start the twisting motion until this test is passed.
Is the OysterClamp 2.0 actually safer than a traditional oyster knife for beginners?
Yes, for one specific reason: the clamp holds the oyster in a fixed position, which means your non-dominant hand never needs to be near the hinge during the most dangerous part of the process. With a traditional knife and towel setup, your grip hand is close to the blade's path. The OysterClamp removes that proximity entirely, which is a meaningful safety advantage for anyone just starting out.
How many oysters should I practice on before hosting a dinner party?
Practice on at least 12 to 20 oysters in a low-pressure session before shucking for guests. The first few will feel uncertain, but by oyster ten or fifteen, the hinge-finding and blade-seating steps start to feel intuitive. Rushing into a dinner party scenario on your very first attempt adds pressure that increases the likelihood of mistakes and injuries.
Can I shuck oysters without gloves if I use the towel technique?
You can, and many experienced shuckers do. But for beginners, we strongly recommend wearing a cut-resistant glove on your non-dominant hand. The towel provides stabilization and a physical barrier, but a glove adds protection against the knife blade itself if it slips unexpectedly. Once your technique is consistent and the blade-seating step feels reliable, you can decide whether the glove is still necessary for you.